Everything I Used to Paint My First Mural (Materials List)
When I was preparing for my first mural at the Virginia Beach Street Art Festival, I spent an embarrassing amount of time searching for materials lists from other muralists. Most artists shared beautiful finished photos, but very few talked about the actual specific supplies they used to get there.
So here's my complete materials list.
My mural took seven days to complete and was painted on a textured outdoor structure just blocks from the Atlantic Ocean. Because the piece would be exposed to sun, rain, wind, salt air, and whatever else Coastal Virginia decided to throw at it, durability was one of my biggest concerns.
This post contains the supplies I used, what worked well, what surprised me, and what I'd do differently next time.

Design & Planning
iPad + Procreate
The entire mural started in Procreate on my iPad.
This allowed me to sketch ideas, move elements around, test compositions, and create a final mockup before ever touching paint. For a project of this size, having a detailed digital plan saved me countless hours once I arrived on site.
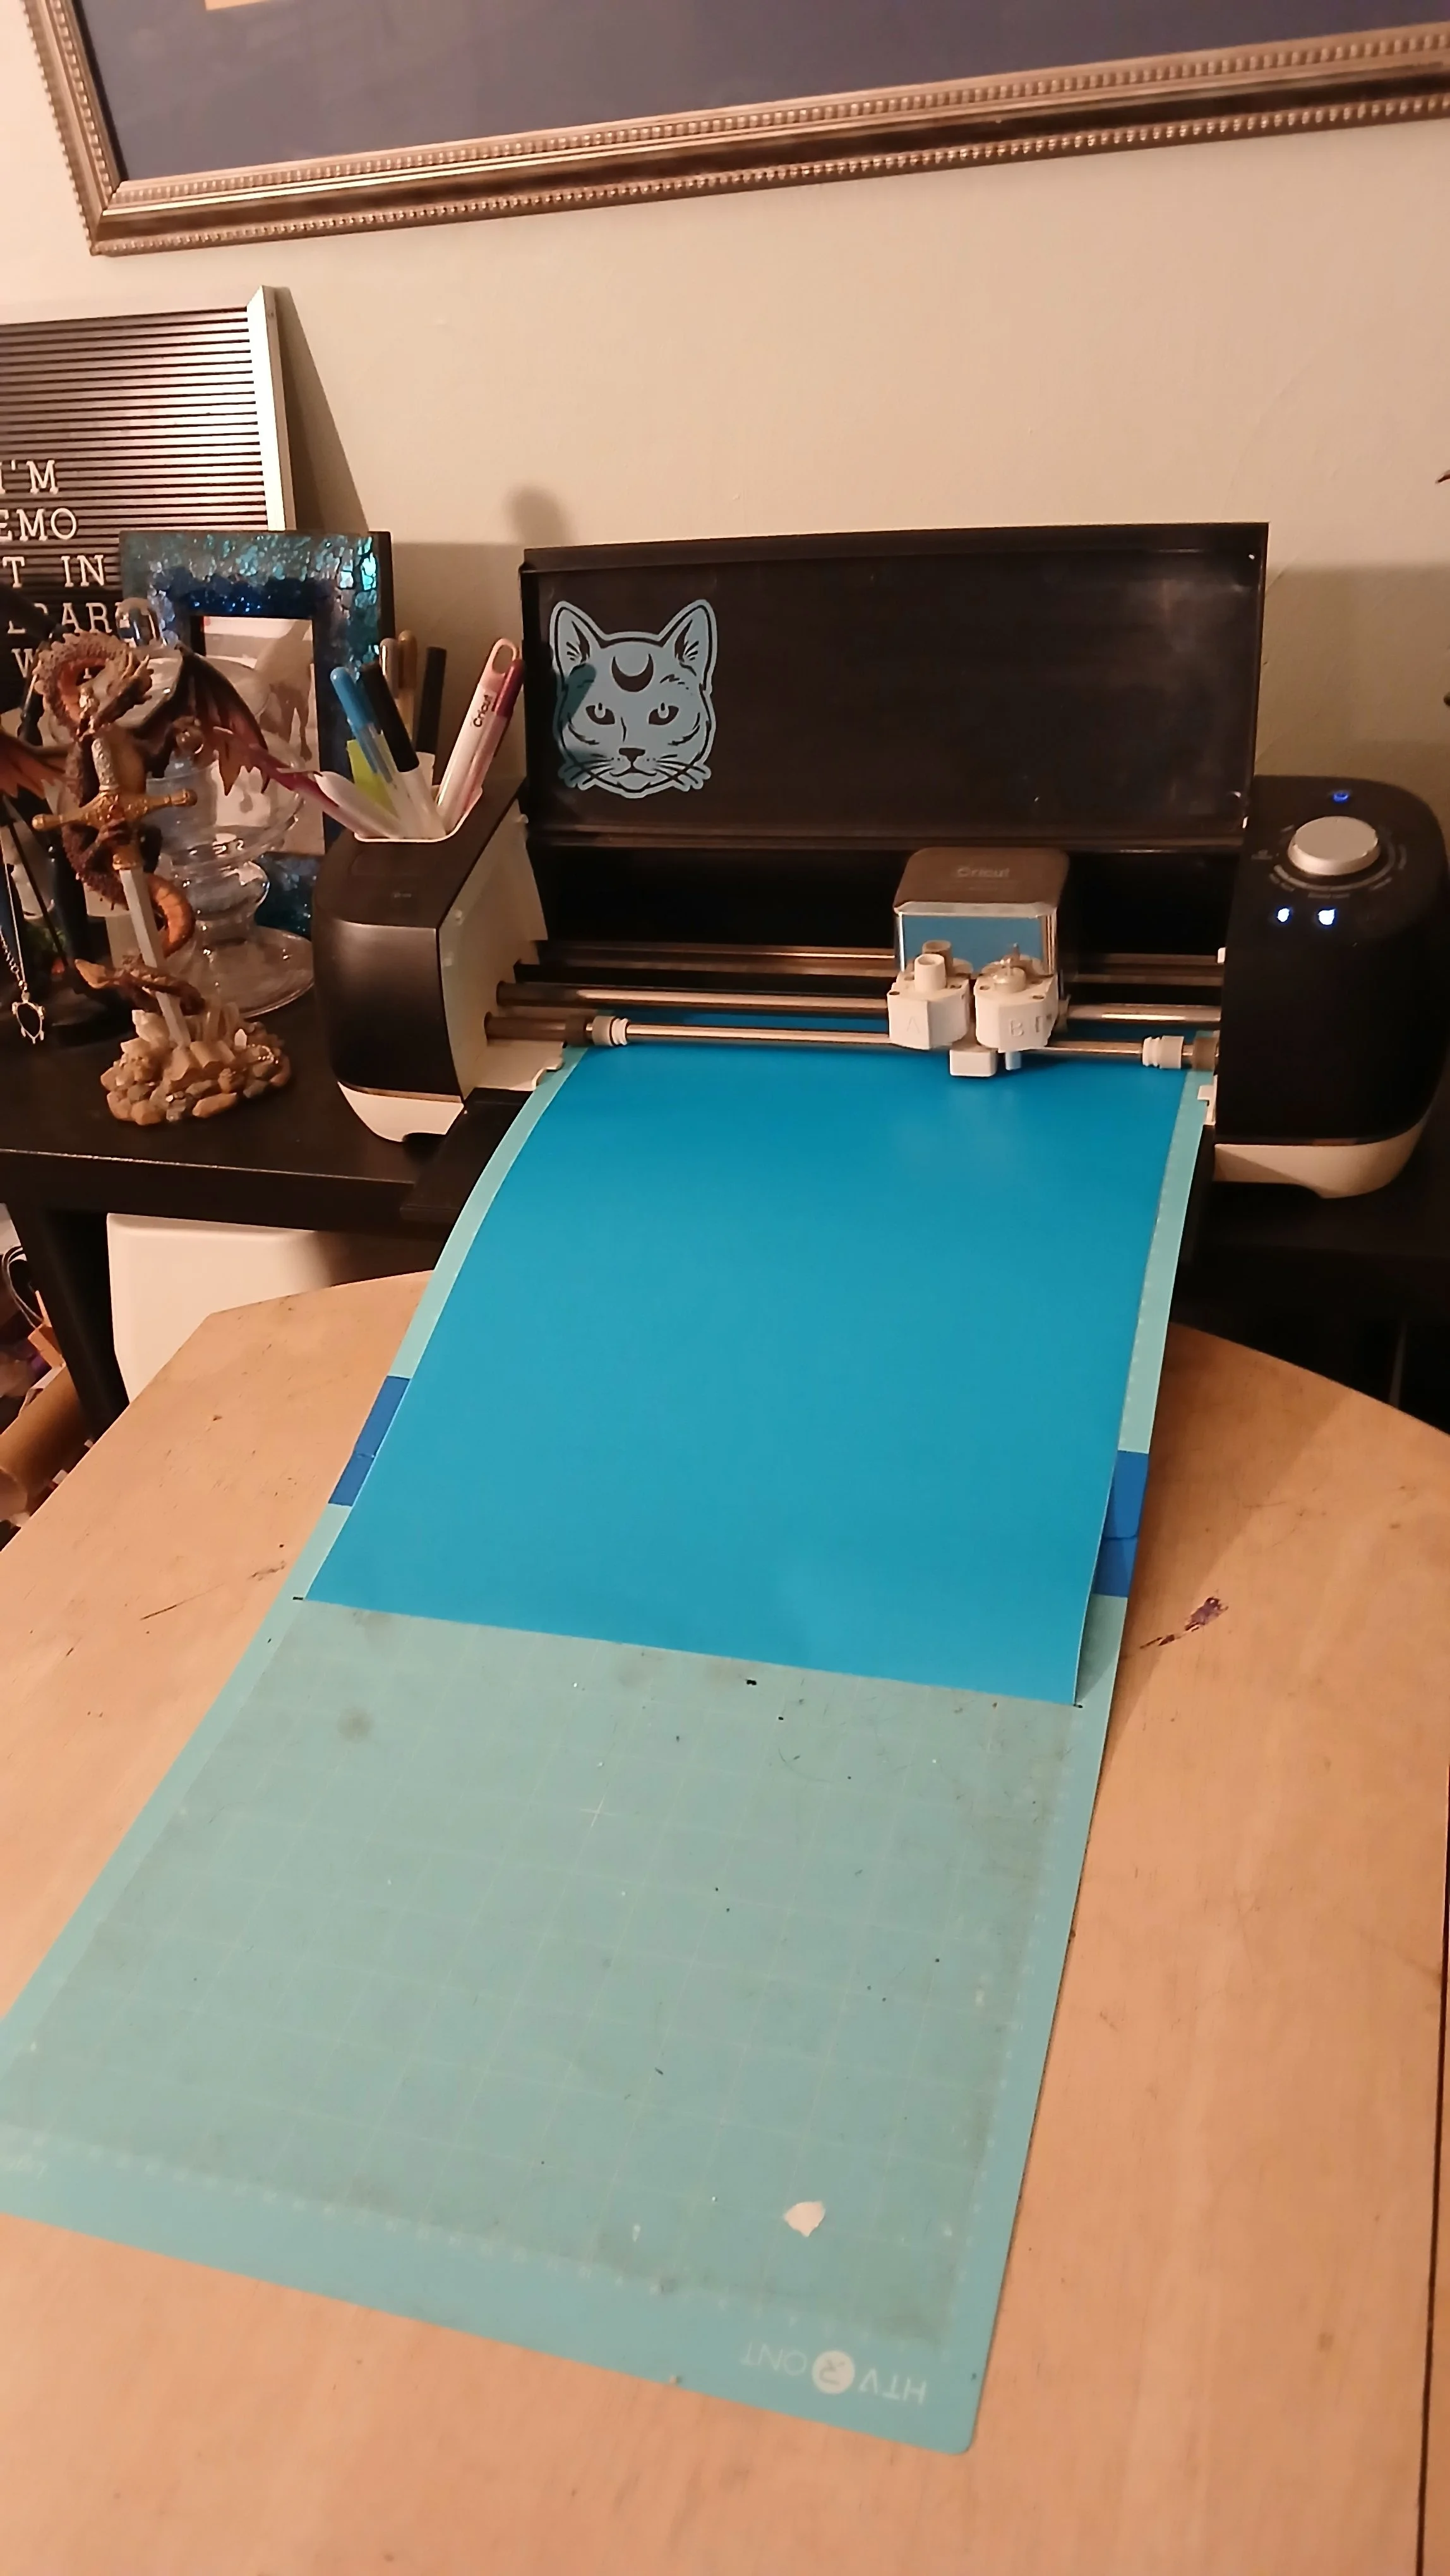
Cricut Machine
Once my original plan fell apart, my Cricut became one of the most important tools in the entire project. The specific machine I used was a Cricut Explore Air 2.
I initially intended to transfer portions of the design by hand and also experimented with using a projector borrowed from the library. Neither method worked well for my particular situation, so I made a last-minute decision to cut large stencils of my artwork instead.
That decision probably saved the mural.
One challenge I ran into was the size of the mural. Many of my design elements were larger than a standard 12" x 12" cutting mat. Since the Explore Air 2 has limitations on how large a single piece can be cut, I had to get creative.
To increase my usable cutting area, I taped two cutting mats together, giving myself approximately 23.5 inches of workable length instead of the roughly 11.5 inches available on a single mat. This allowed me to create significantly larger stencil sections without upgrading equipment or purchasing a different machine.
The largest stencil in the entire project was the ship. Even with the extended cutting area, the design still had to be divided into four separate sections before being cut and applied to the mural surface.
If you're planning a large-scale mural and already own a Cricut Explore Air 2, don't assume you need a more expensive machine immediately. With some planning, registration marks, and a little patience, it's possible to create surprisingly large stencil elements using equipment you may already have.
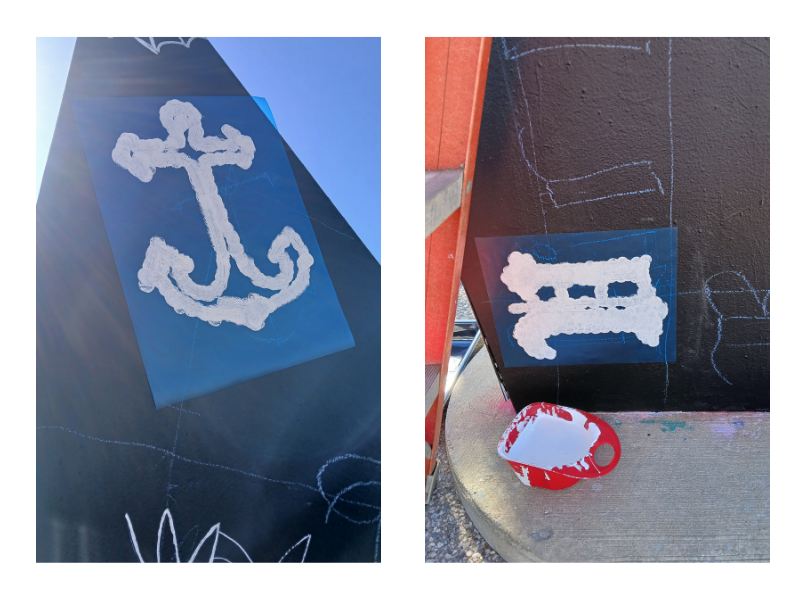
VViViD Blue Stencil Vinyl
Purchased from Amazon.
This was one of the biggest surprises of the entire project.
I expected the stencil vinyl to be a temporary solution, but it ended up working far better than anticipated. The surface I was painting on was highly textured, which meant I still had to clean up edges and sharpen lines afterward, but the vinyl allowed me to transfer my design quickly and accurately.
Without it, I would have spent significantly more time drawing and correcting proportions.
If I were painting this mural again tomorrow, stencil vinyl would absolutely make the packing list.
Trifold Presentation Board
Purchased from Dollar Tree.
This was one of the cheapest supplies I used and ended up being surprisingly useful.
After cutting large stencil sections with my Cricut, I needed a way to transport them safely to the mural site without bending, tearing, or crushing them in the car. A simple trifold presentation board from Dollar Tree turned out to be the perfect solution.
The board acted like a giant protective folder, keeping multiple stencil sections flat and organized between work sessions. Considering some of the larger stencil pieces took hours to design, cut, weed, and assemble, protecting them was well worth the $1.25 investment.
This is one of those supplies I never planned for at the beginning of the project but would absolutely use again.
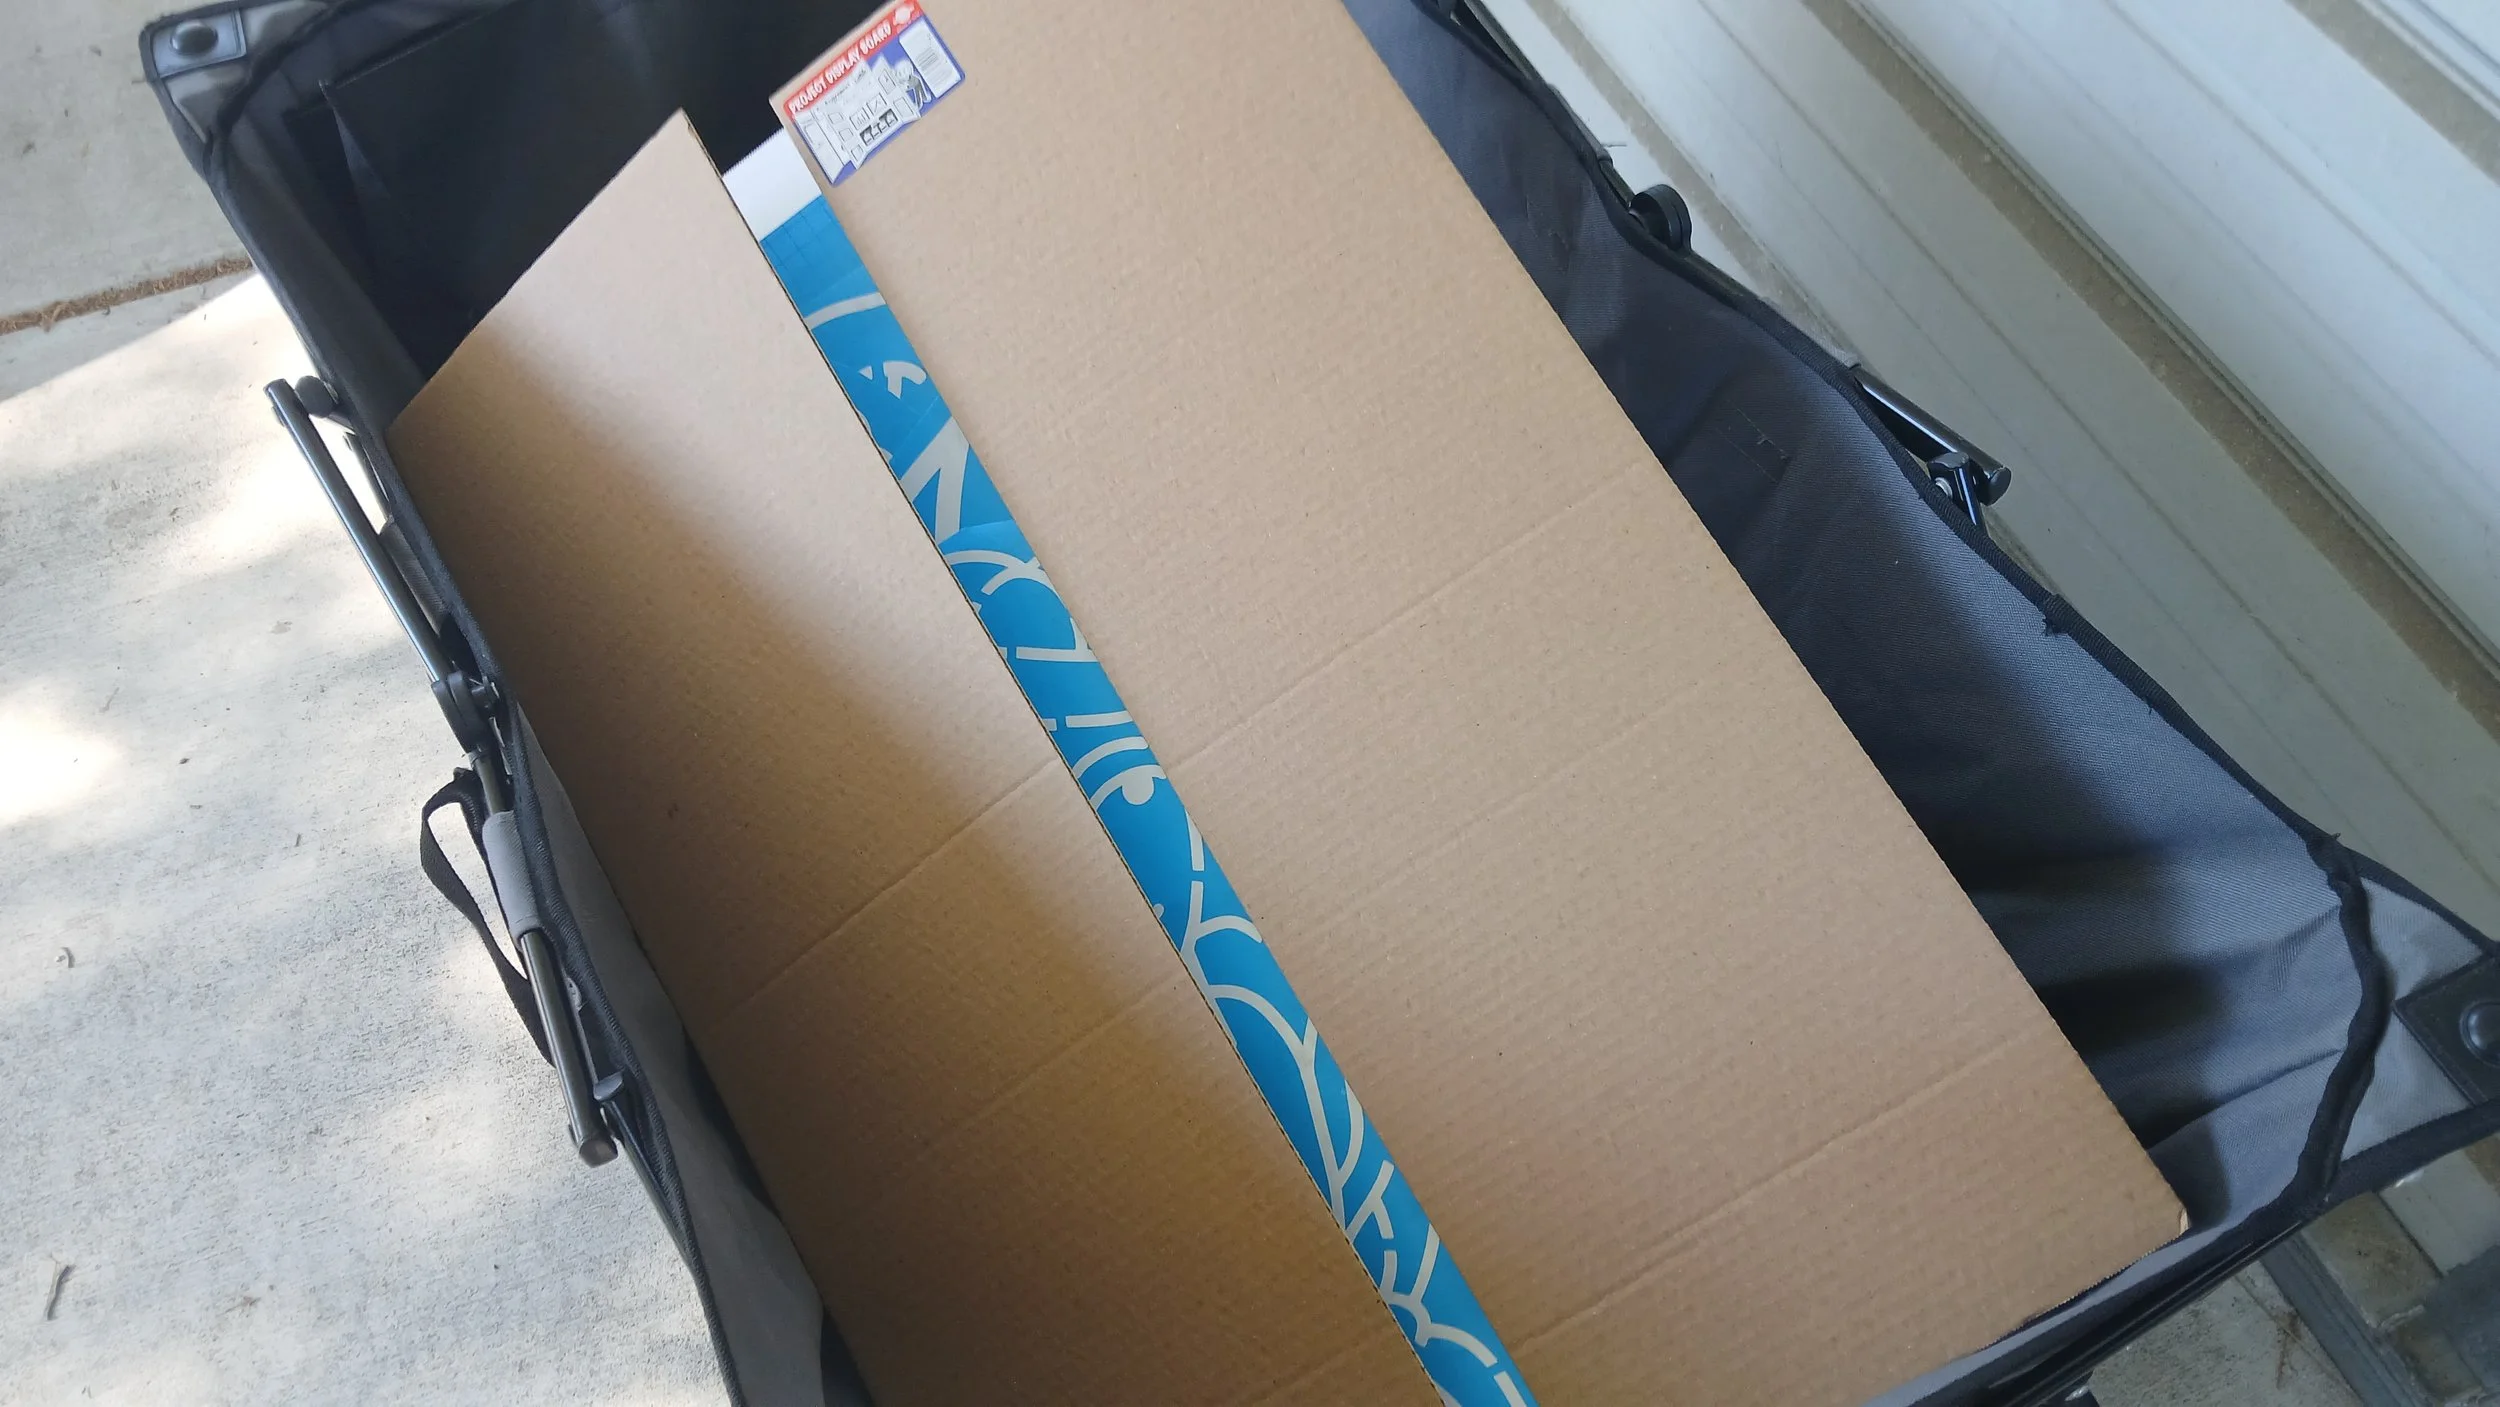
A Dollar Tree presentation board turned out to be the perfect way to transport oversized stencils without folding, creasing, or accidentally destroying them.
Projector
Technically, the projector never became part of the final process, but it's worth mentioning because it was part of the plan.
I borrowed one from the public library hoping to transfer portions of the design directly onto the structure. Between environmental conditions and the realities of painting outdoors, it simply wasn't the right solution for this project.
Sometimes the lesson isn't what works. It's what doesn't.
Paint & Application
Hgtv Home by Sherwin-Williams Weathershield Exterior Stain-Blocking Paint
Colors Used:
Black (1 gallon)
White (1 gallon)
Purchased from Lowe's.
This was probably the most important decision I made before the project started.
Since the mural is located near the Virginia Beach Oceanfront, I wanted an exterior paint designed to withstand weather, moisture, and UV exposure. While no paint can guarantee survival against every hurricane Mother Nature throws at us, choosing a weather-resistant exterior paint gave me peace of mind.
The black paint served as the background for the entire piece, while the white paint was used for the design itself. One gallon of each ended up being perfect for my project. I used the entire can of black and had some white left over.
Would I use it again? Absolutely.
Paint Trays, Rollers & Brushes
Purchased as part of a painting kit from Amazon.
The large rollers were essential during the early stages of the project. I used them to apply the black background and later when transitioning from chalk outlines to permanent paint.
For large-scale work, rollers dramatically speed up the process compared to brushes alone.
Foam Dabber Brushes
Purchased from Walmart.
These became my primary stencil brushes.
The foam applicators worked well for painting over the stencil vinyl and helped reduce bleeding compared to some traditional brush techniques.
Detail Brushes
Purchased from Walmart.
After the stencils came off, the detail work began.
Because the surface was textured, many of the lines required cleanup and refinement. These brushes allowed me to sharpen edges and improve readability throughout the mural.
I bought them from Walmart simply because it was one of the closest stores to the mural site that was open early enough for emergency supply runs.
Setup & Site Equipment
Project Source Heavy Duty Canvas 8-oz 6-ft x 9-ft Drop Cloth
Purchased from Lowe's.
Not glamorous, but necessary.
The drop cloth protected the surrounding area and gave me a cleaner workspace throughout the project.
Handheld Paint Bucket
One of those simple tools that ends up being incredibly useful.
When you're climbing ladders and constantly moving around a structure, carrying an entire paint tray isn't practical. The handheld bucket allowed me to keep paint nearby without making every trip up the ladder a balancing act.
6-Foot Ladder
I borrowed the ladder used for this project, but if you're planning your own mural, you'll almost certainly need one.
The ladder allowed me to reach the upper sections of the piece and became a permanent fixture in my daily setup.
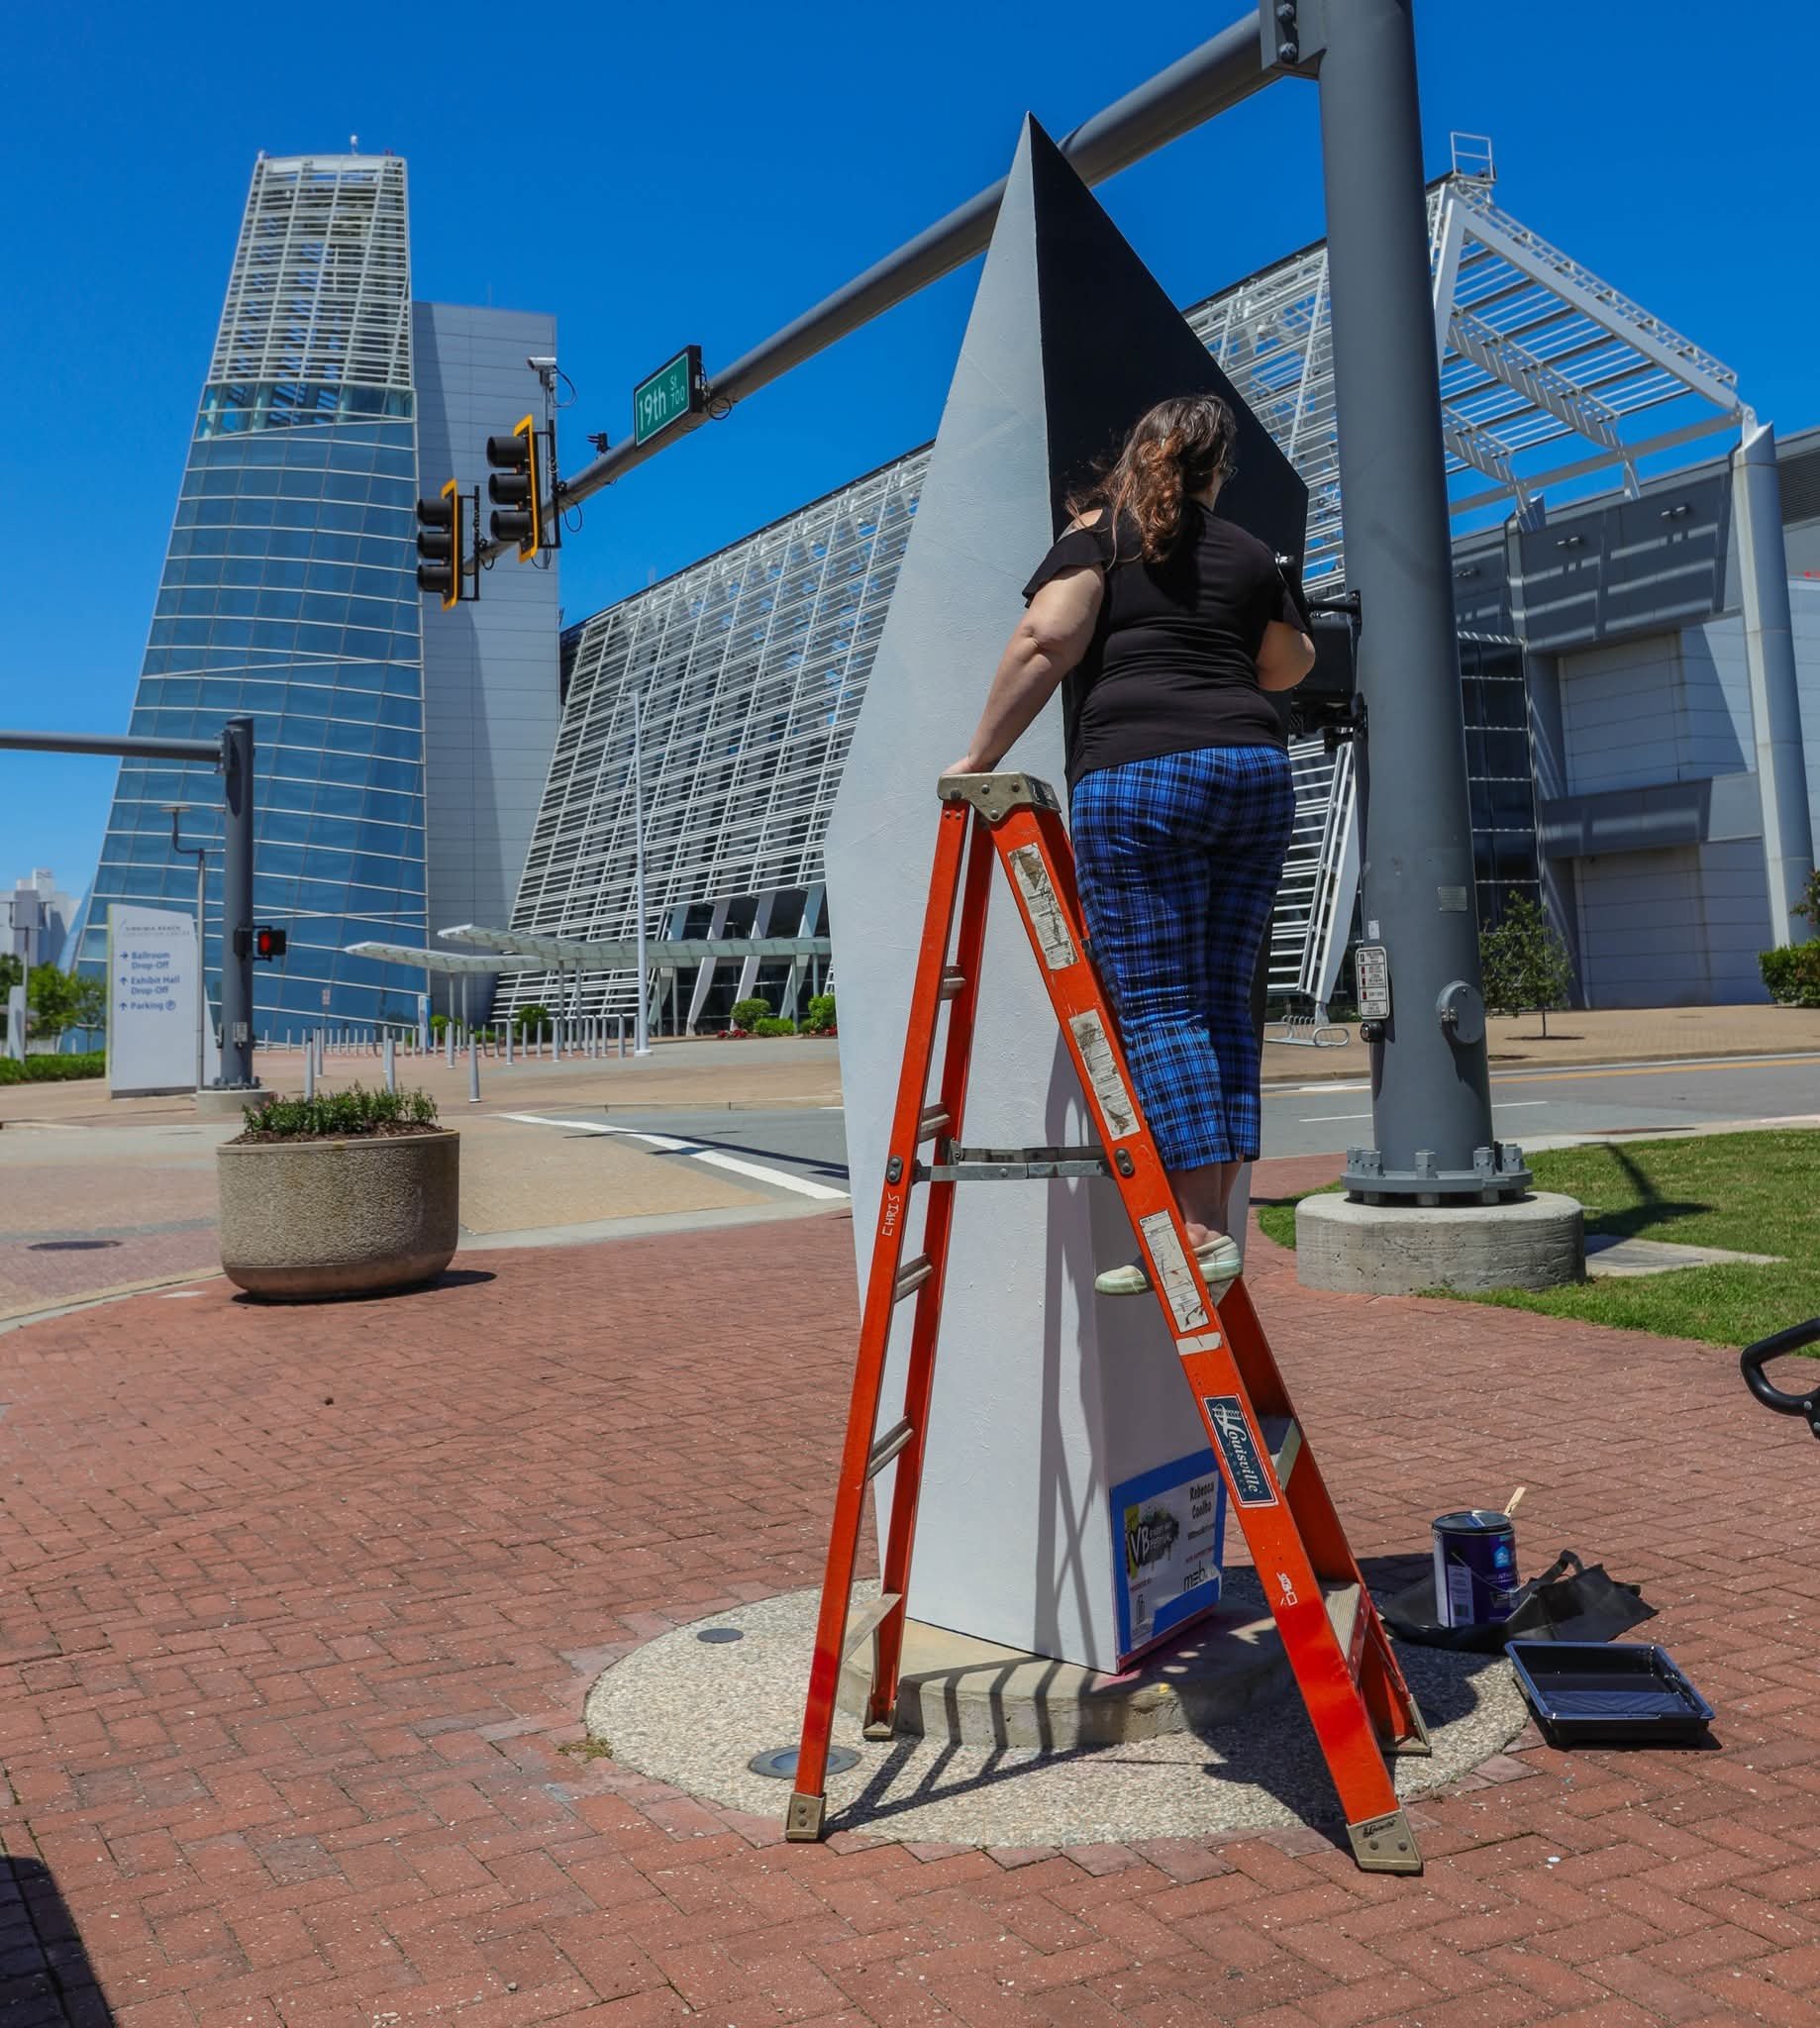
Day 1: Applying the background coat outside the Virginia Beach Convention Center. Before the stencils, before the sunburn. Just me, a ladder, and a lot of black paint.
The Unsung Hero: My Utility Wagon
If you're only going to take one piece of advice from this entire post, let it be this:
Get a wagon.
Every morning I loaded my paint, brushes, cooler, water, speaker, content creation equipment, and miscellaneous supplies into a utility wagon and hauled everything from the parking area to the mural site.
It saved my back.
It reduced setup time.
It reduced cleanup time.
And as an unexpected bonus, it often created a small patch of shade where I could keep paint containers from baking in direct sunlight.
I’ve used this wagon through several life events, and it is still holding strong. This is a worthwhile investment for anyone who needs to transport equipment.
Survival Gear
Cooler
Purchased from Walmart.
The cooler was filled daily with water, drinks, snacks, and enough ice to survive painting outdoors in Virginia Beach heat.
Ice
Purchased from 7-Eleven.
The most frequently replenished supply of the entire project.
Camping Chair
There were many moments where sitting down for even five minutes made the difference between feeling exhausted and feeling capable of continuing.
Bring the chair.
Bluetooth Speaker
Seven days is a long time to stare at the same wall.
My speaker kept me company through hours of painting, touch-ups, content creation, and cleanup. The soundtrack ranged from Bad Bunny to punk, hip-hop, and protest music depending on the day.
Highly recommended for morale.
Panama Jack Aloe Gel with Lidocaine
Purchased after I got sunburned from the market inside the Holiday Inn & Suites North Beach.
This deserves its own section because it genuinely saved me.
Despite reapplying sunscreen, I managed to get badly sunburned on the first day of the project. The aloe gel with lidocaine was the main reason I slept comfortably that night.
I hope you never need it.
But if you do, you'll be glad you packed it.
What I'd Do Differently Next Time
Bring Shade
This is the biggest lesson.
Several artists brought canopies, umbrellas, or portable shade structures.
My friend Alan even offered me access to shade.
I declined because I thought I'd be fine.
I was not fine.
The Virginia Beach sun won that argument.
Next time, I'm bringing shade.
Paint Markers
Paint markers would have made touch-ups and small corrections significantly easier throughout the week.
They've already earned a spot on my future mural supply list.
Final Thoughts
When people look at a finished mural, they usually see paint.
What they don't see is the cooler full of ice, the wagon hauling supplies across parking lots, the aloe after a long day in the sun, the emergency Walmart runs, the failed projector plan, or the last-minute stencil solution that somehow saved the project.
A mural is never just paint.
It's planning, problem-solving, improvisation, persistence, and a willingness to keep going when Plan A becomes Plan B, C, or D.
This was my first public mural, and while there are plenty of things I'll do differently next time, every item on this list played a role in getting me to the finish line.